


Quick start guide
Written by Destination Sim
Updated 24 August 2024
Use our iOS app
Manage your eSIMs, buy plans, and get support on the go with the Destination Sim app for iPhone and iPad.
Quick start guide
Once you've purchased your e-SIM, you will receive an email within approximately 10 minutes with setup instructions for both iPhone and Android.
Quick start guide
Setup Steps - iPhone
To complete activation you will need an internet connection. It's best to do this before leaving for your trip.
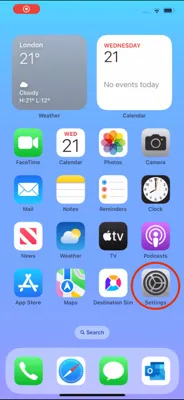
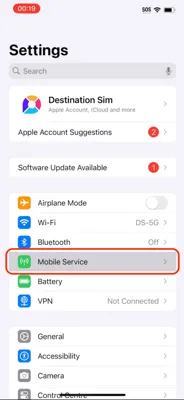
Go to Settings on your iPhone.
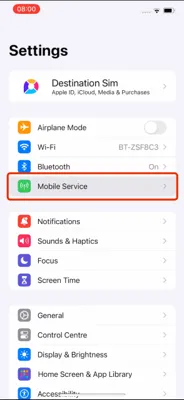
Then select "Mobile Service"
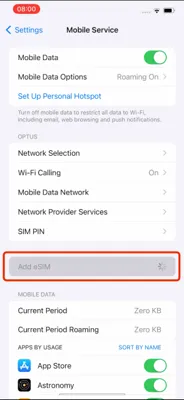
Then select "Add eSIM"
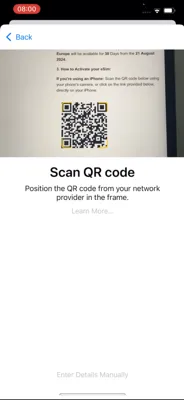
You will then see the option to "Use QR Code"
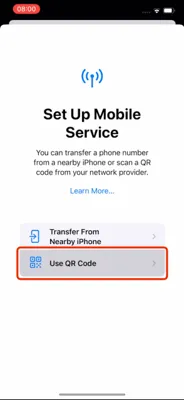
After you select this option, scan the QR Code located in the email, you received after making your purchase.
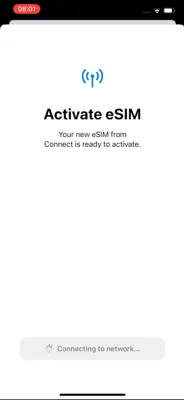
Then to activate your new eSim select "Continue"
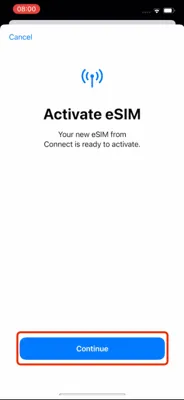
This may take a moment or two.

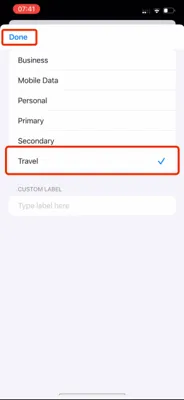
Then select "Done"
Here you can set a label for your eSim.
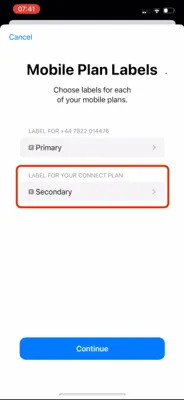
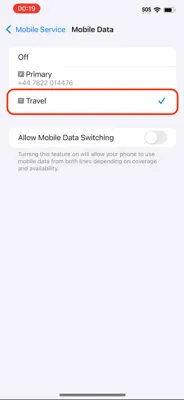
Select Secondary and set it to "Travel". Select done.
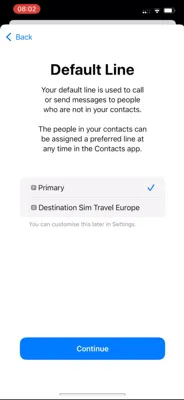
Then set your default line to Primary, and select continue.
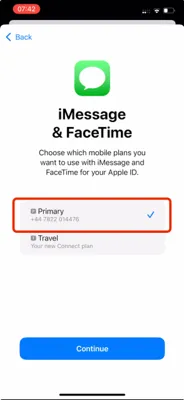
Set your iMessage and FaceTime to Primary, and select continue.
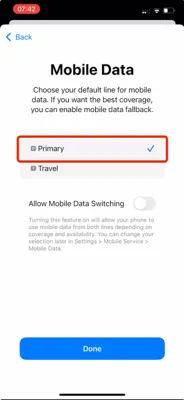
For your mobile data, set this to Primary and then select Done.
Turn off roaming
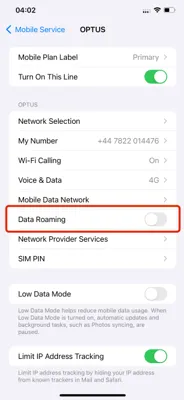
To avoid unexpected roaming charges on your normal plan. Ensure you turn off Data Roaming.
It's best to do this just before your flight leaves for your destination.
On your iPhone go to Settings.
Then select Mobile Service, locate and select your normal primary SIM.
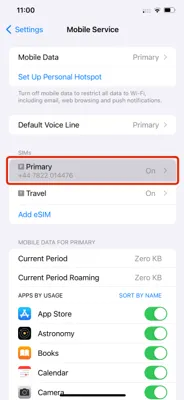
Then select Data Roaming and turn it OFF.
Turn on Destination Sim Travel Data eSIM
Turn data on when you land at your destination.
On your iPhone go to Settings.
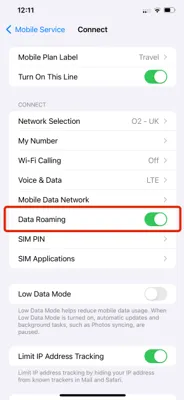
Select Mobile Service, locate your Travel e-SIM, and ensure the Data Roaming setting is switched to on.
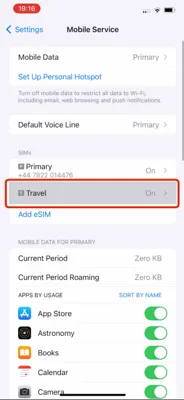
Ensure the Data Roaming setting is switched to on.
Troubleshooting step - Data not working?
Ensure the correct eSIM is selected for data usage.
On your iPhone go to Settings.
Select 'Mobile Service'
Select 'Mobile Data
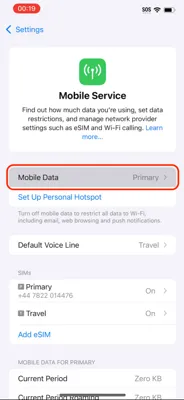
Ensure the Destination Sim data eSIM is selected for data usage.
Related Guide
Need help turning your eSIM on and off? Check out our complete guide for iPhone users.
Read Complete GuideReferences
Authoritative sources
This page references independent standards bodies, device manufacturers, and telecom guidance used to verify eSIM, roaming, compatibility, and coverage claims.